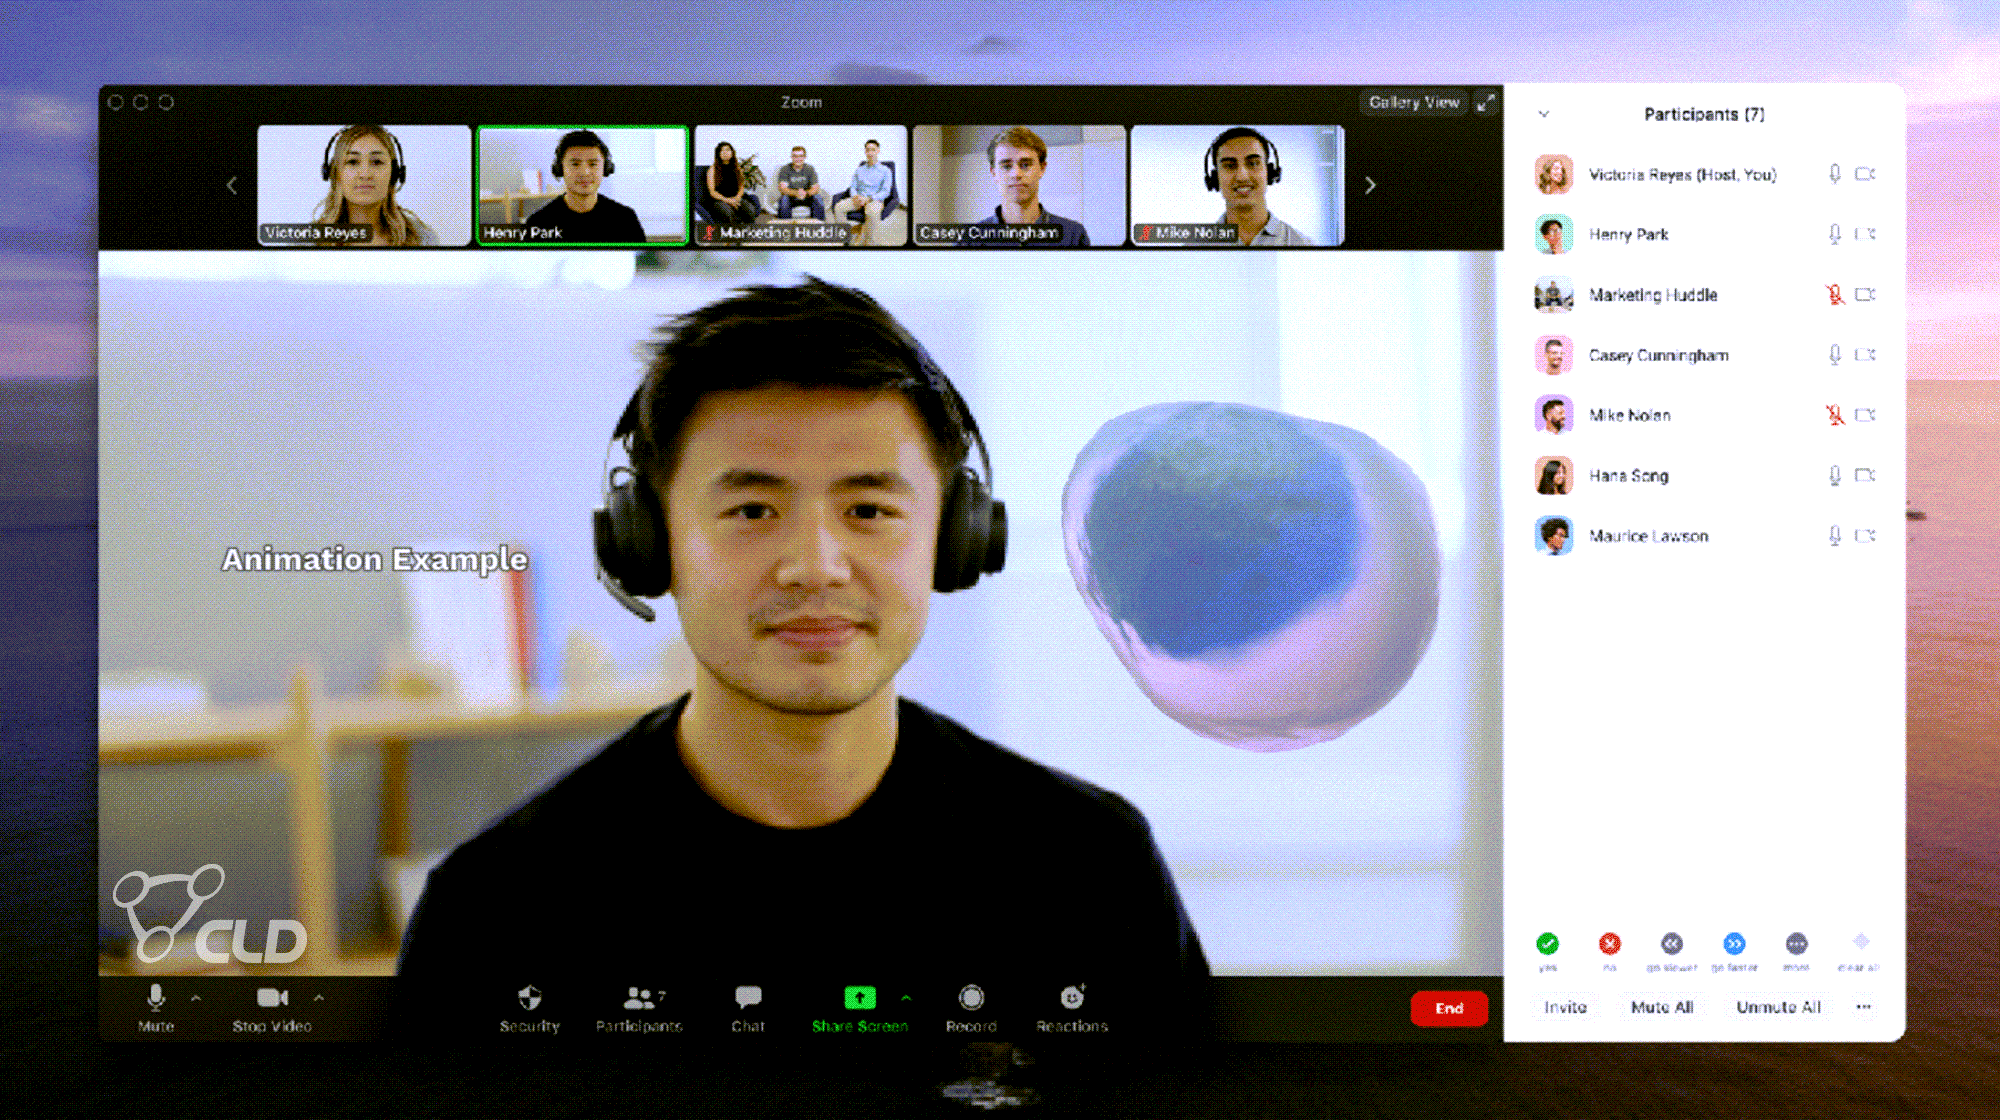
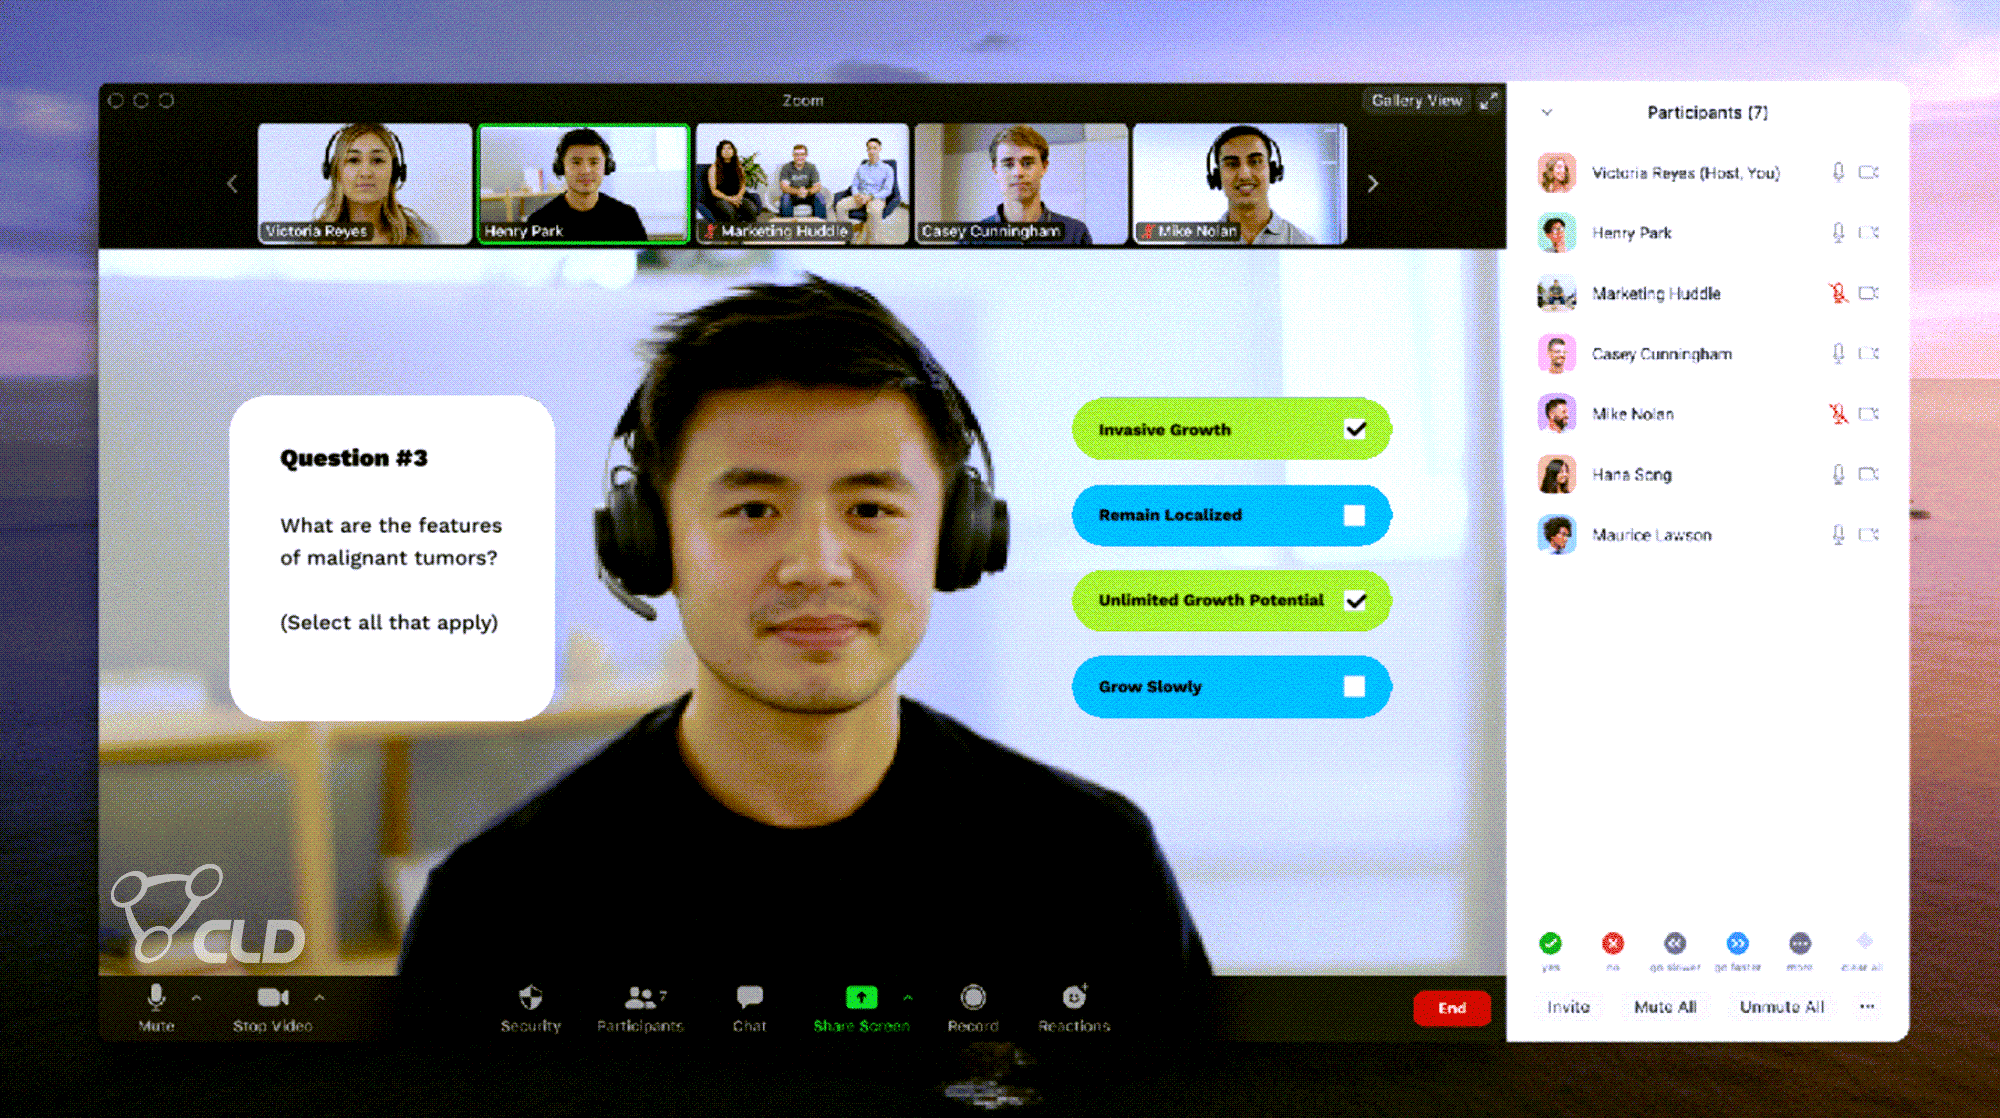
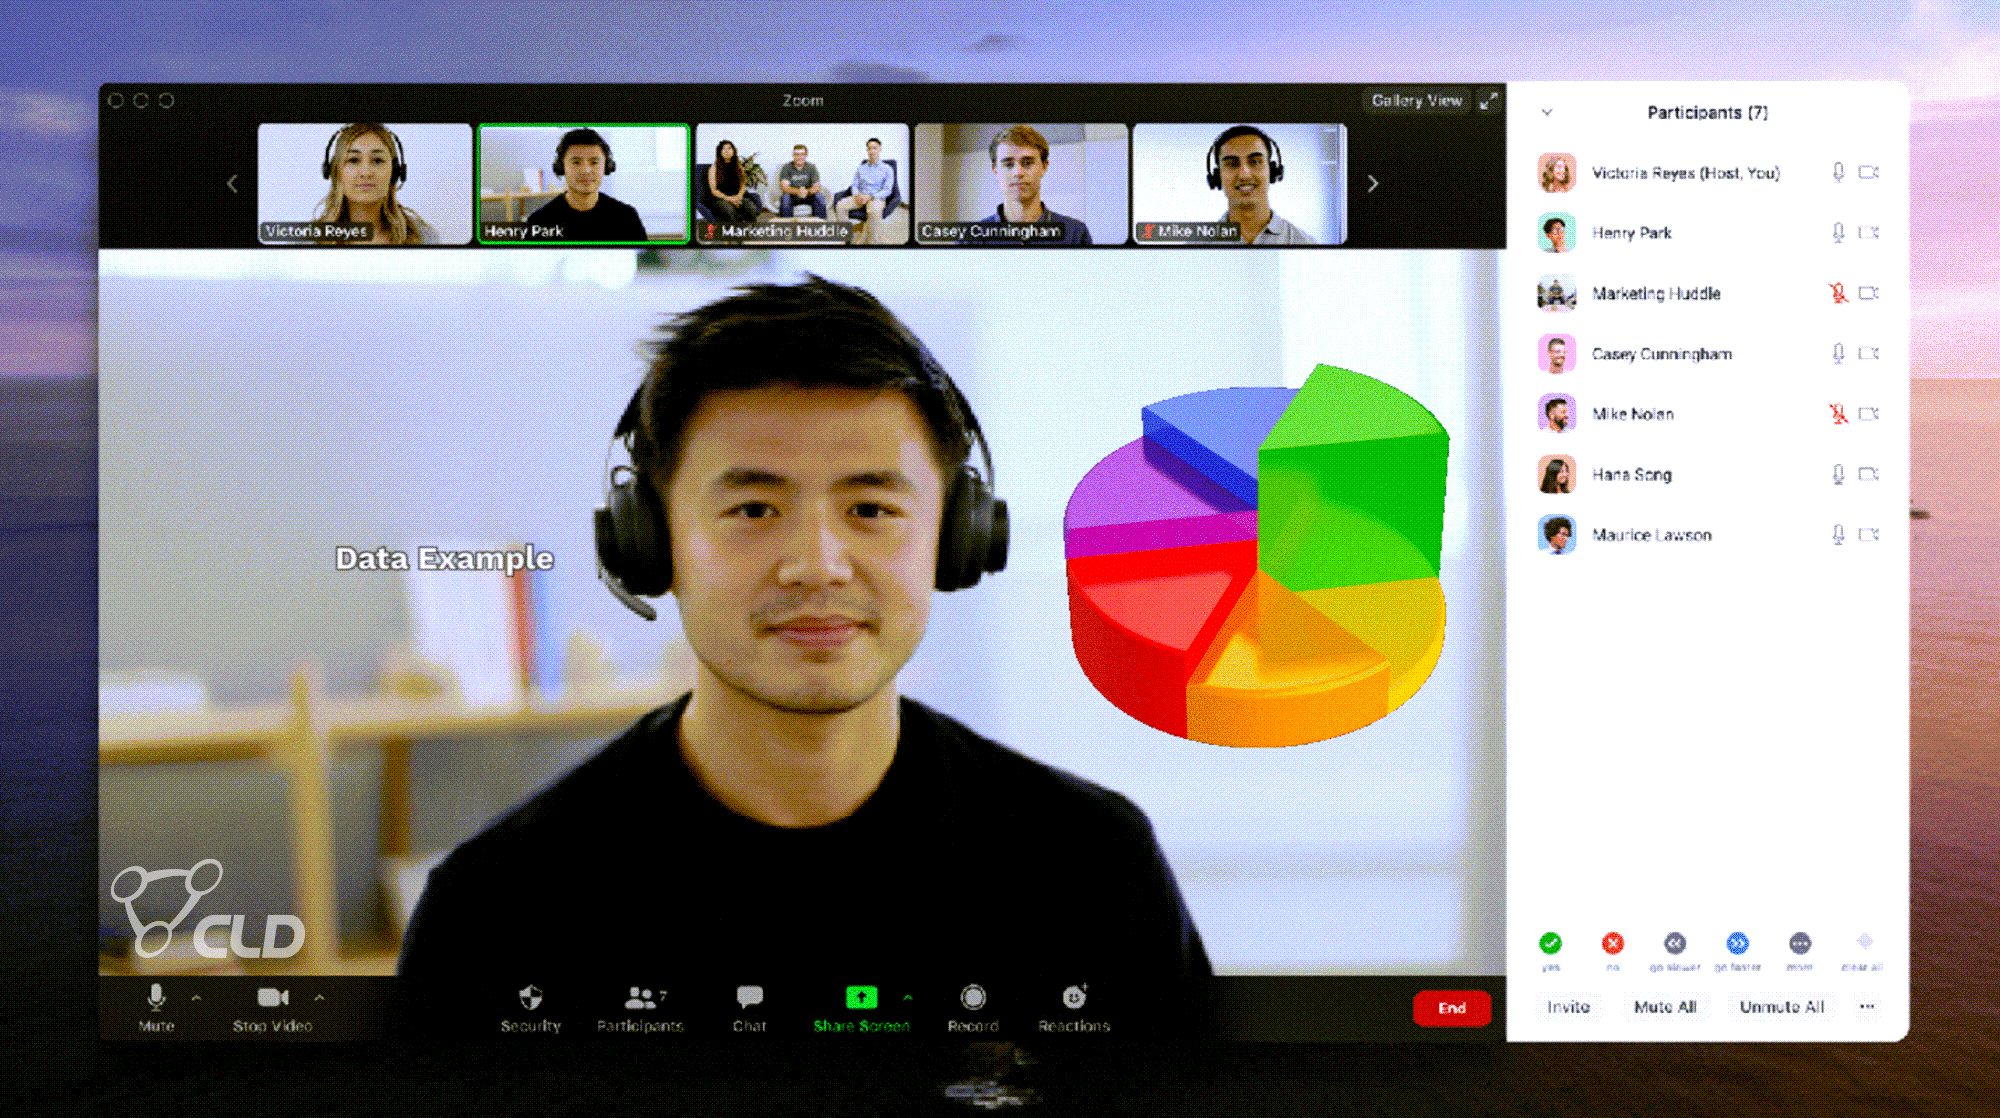
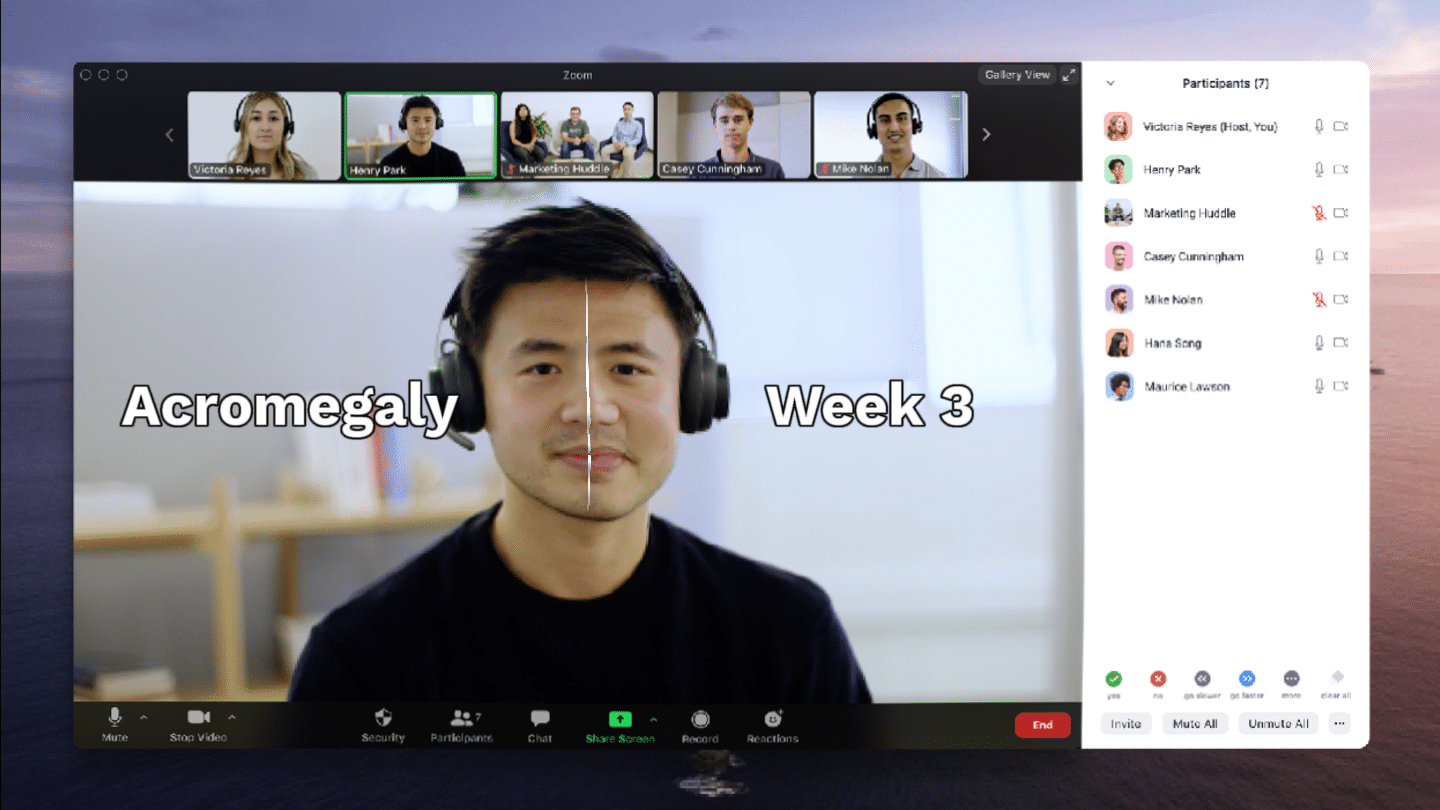
To create quizzes, data, disease progression, and animation type Lenses shown above you will need LensStudio. In Lens Studio you choose a template. Each template is paired with an overview video to get you up to speed quickly. For more complex designs, you may find it easier to work with CLD and our partners to bring your vision to life. When your Lens is final and tested keep them private by changing the visibility setting of each Lens to Do Not Promote from within the My Lenses tab of Lens Studio. With this setting, only those with the Snapcode or Lens Link will be able to view it. It will not be visible via a search in Lens Explorer or Snap Camera This works well when the speaker/presenter is the one showing a Lens. However, if you do create a Lens for your sales representatives we advise using the Do Not Promote setting and then deleting the lens when you are done. This will permanently prevent link sharing outside your organization.
Once your custom Lenses are built you’ll need to determine how to best trigger them. As a default, Screen Taps will progress effects if included. Unfortunately, Screen Taps aren’t beneficial when using Snap Camera in concert with web meeting applications. To avoid clunky toggling, you will need to set a hotkey in Snap Camera’s application settings. A hotkey is simply CTRL+”Any Key.” A hotkey can also be set to turn effects off and on.